How to Display Testimonials on Your Website
The testimonial sections in your theme are dynamically generated from blog posts categorized as “Testimonials”. To make sure the testimonials included in the demo appear correctly, follow these steps:
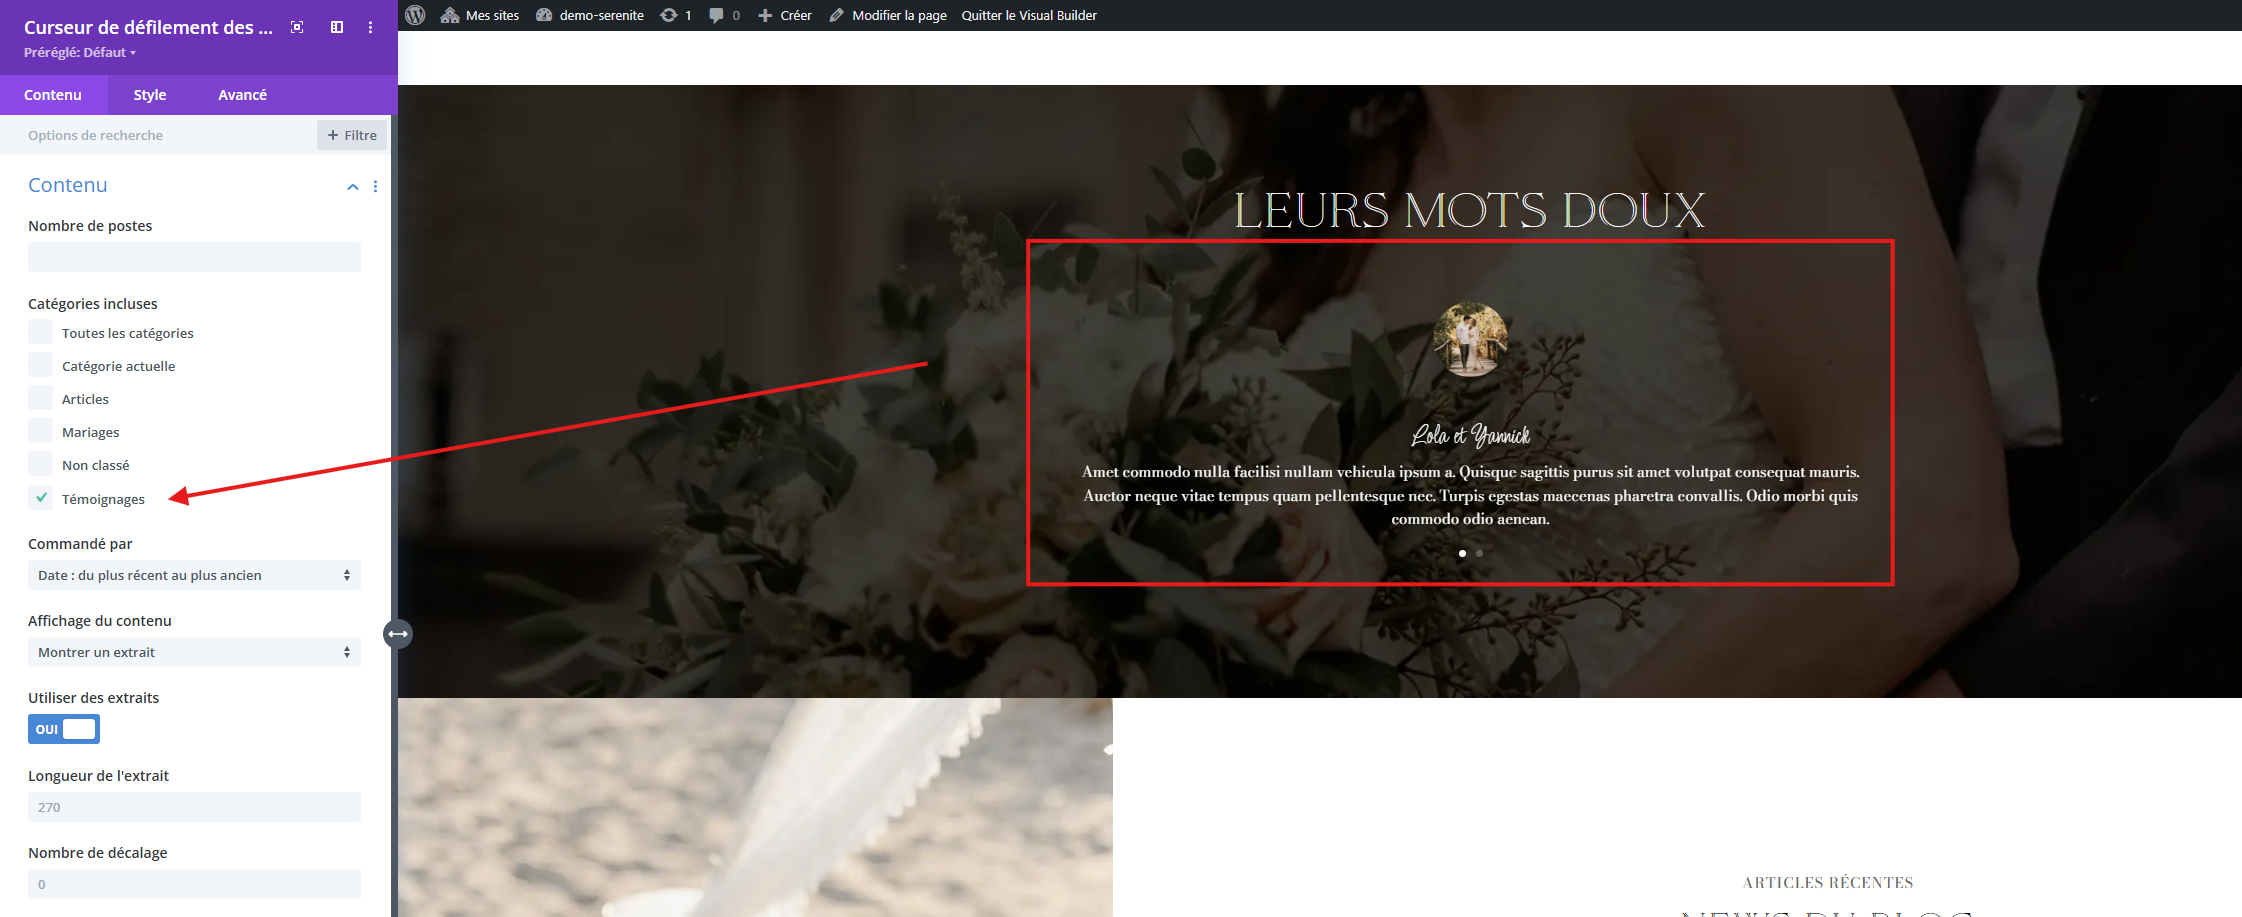
Step 1: Activate the Testimonials Section
1. Click on the Testimonials module in the Divi Builder.
2. Go to the Content settings.
3. Locate the Post Category option and make sure “Testimonials” is selected.
4. Save your changes.
This step ensures that the default testimonials from the demo are correctly displayed.
Step 2: Add Your Own Testimonials
1. Create a new testimonial
– Go to Posts > Add New in your WordPress dashboard.
– Write your testimonial as a new post.
2. Assign the correct category
– In the Categories section on the right, check “Testimonials”.
– Set a Featured Image(this will be the testimonial’s photo).
– Publish your post.
Once published under the “Testimonials” category, your new testimonials will automatically appear in the designated section of your website.
If testimonials do not display correctly, make sure:
✅ The correct category is selected in the module settings.